{ Search The Blog }

Showing posts with label Thrifty Thursday. Show all posts

Thursday, March 29, 2018

Thrity Thursday: Coffee Filter Wreath


It has been awhile since I made anything crafty.
So, I found some DIY inspiration last week on Pinterest!

Items Needed:
Pool Noddle (Dollar Tree)
Coffee Filters (100-150)
Hot Glue & Gun
Duct Tape
Ribbon

Step #1
Use the duct tape to secure your noodle into a circle.
My wreath measured about 15"


Step #2
Pinch and scrunch your coffee filter, put glue on the tip- place onto wreath for a second or two to secure in place.

 Continue this until your wreath is full!


 It took me about 1.5 hours to complete.

Step #3
Glue your ribbon onto the back, and just like that- a beautiful new wreath!
All for under $5.00

Happy DIY-ing!


Thursday, October 15, 2015

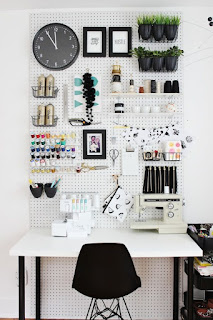
Thrifty Thursday: Pegboard Storage


Pegboards are a great way to store items, especially in small spaces.
 
A Small Kitchen
 
I think this is such a smart way to add space to your kitchen.
Everything is in sight, with easy access.
 
Laundry Rooms & Mud Rooms
 
What a great way to store your cleaning supplies.

 
Craft Rooms
Look how organized this space is!
 
The Garage
 
Not just for small scale things either!
 
A Nursery
 
A room you wouldn't have thought to use a pegboard!

Get creative with the way you add storage to your home.
Not only do they give you a functional space but they can be attractive also.
 

Images:
Pinterest.com
  

Thursday, January 22, 2015

Thrifty Thursday: Giant Floor Pillow


What you will need:
 
 
2 pieces of fabric cut to 30"x30"
4 pieces of fabric cut to 5"x30
Scissors
Poly fill Stuffing
Sewing Machine
Needle & Thread

(I found this How To on Pinterest to help with the process)
 
Step One

Sew the 5"x30" pieces of fabric - one to each of the sides of the 30"x30"
 
Step Two
 
Then sew the second piece of 30"x30" fabric to one side of the 5"x30
 
Step Three
 
Sew the corners together


Do this to all four corners 
 
Step Four
 
Once all the corners are sewn
Sew the "Bottom" piece of fabric to the all sides of the 5"x30"
(To create a "box")


Leave a 2"-3" opening on one of the sides- so that you turn can the fabric inside out.

Like this!
 
Step Five
 
Now you are ready to stuff with the poly fill
 
You may remember this pouf I made a while back.
Well... I never finished it.
So I took all the stuffing out of it and used it in my new floor pillow- great way to save a buck right!?
But if you are making such a large pillow like mine- you will probably need at least 3 bags of fill.
 
Step Six
Once you have your pillow fully stuffed, you will need to use your needle and thread to sew up the opening.
 
NOW YOU ARE FINISHED!!
 
 
Now it's time to enjoy your pillow!
 
Total Cost- Around $45 dollars
(I was lucky enough to have all the materials already- so my pillow was free!)
Total Time- One hour

And...
Here is an upcoming DIY
 
I found this on the curb side last night!
 
Imagines via:
ME


Thursday, October 23, 2014

Thrifty Thursday: Suitcase Side Table


Earlier this month, my mother-in-law, sister-in-law and I took a trip to Round Top.
If you have heard of this place/event before- you know how amazing it truly is.
I was in pure heaven.

I came back with lots of goodies.

Vinyl Records - 5 for $10
Vintage ruler - $12
Brass candlesticks - $13
Mercury Lamp & Bowls - $25
Vintage Suitcase - $20

I had big plans for the suitcase!

Here is what I turned it into!
 
 
I purchased a DIY 24" barstool from Walmart -  $12 bucks
A can of spray paint - $6
(I wanted the color to closely match the hardware on the suitcase)


(Diaper boxes come in very handy for all my spray painting projects)
 
Once the barstool was dry, I put it together (minus the round top portion) and used a couple of pieces of Velcro to adhere the suitcase to the top of each leg.

*You could screw the suitcase to the legs also. But just incase I want to use the suitcase for something else- I opted out.
 
Viola!
Here is our new bed side table.
 
And all for under $40 Dollars!
 
Happy Hunting!


Thursday, August 21, 2014

Thrifty Thursday: Canvas Art


Before
 
 
This was my first attempt to make over a canvas I had laying around.
(I spray painted over the existing artwork and painted on our Wedding date.)
We lived with it for a while like this- But it just wasn't what I had envision for the space.
 
So I got materials and made it over once again.
 
Materials Needed:
 
 
Fabric
Staple Gun & Staples
Scissors
Wooden Numbers or letters
Spray Paint
Hot Glue and Glue Gun
Ribbon
 
After
 
 
This is much bolder and just how I pictured it in the beginning.
 
 
Total Cost:
Around $15 Dollars
For spray paint and the numbers
 
*I had the fabric and ribbon from previous projects.
 

Thursday, August 7, 2014

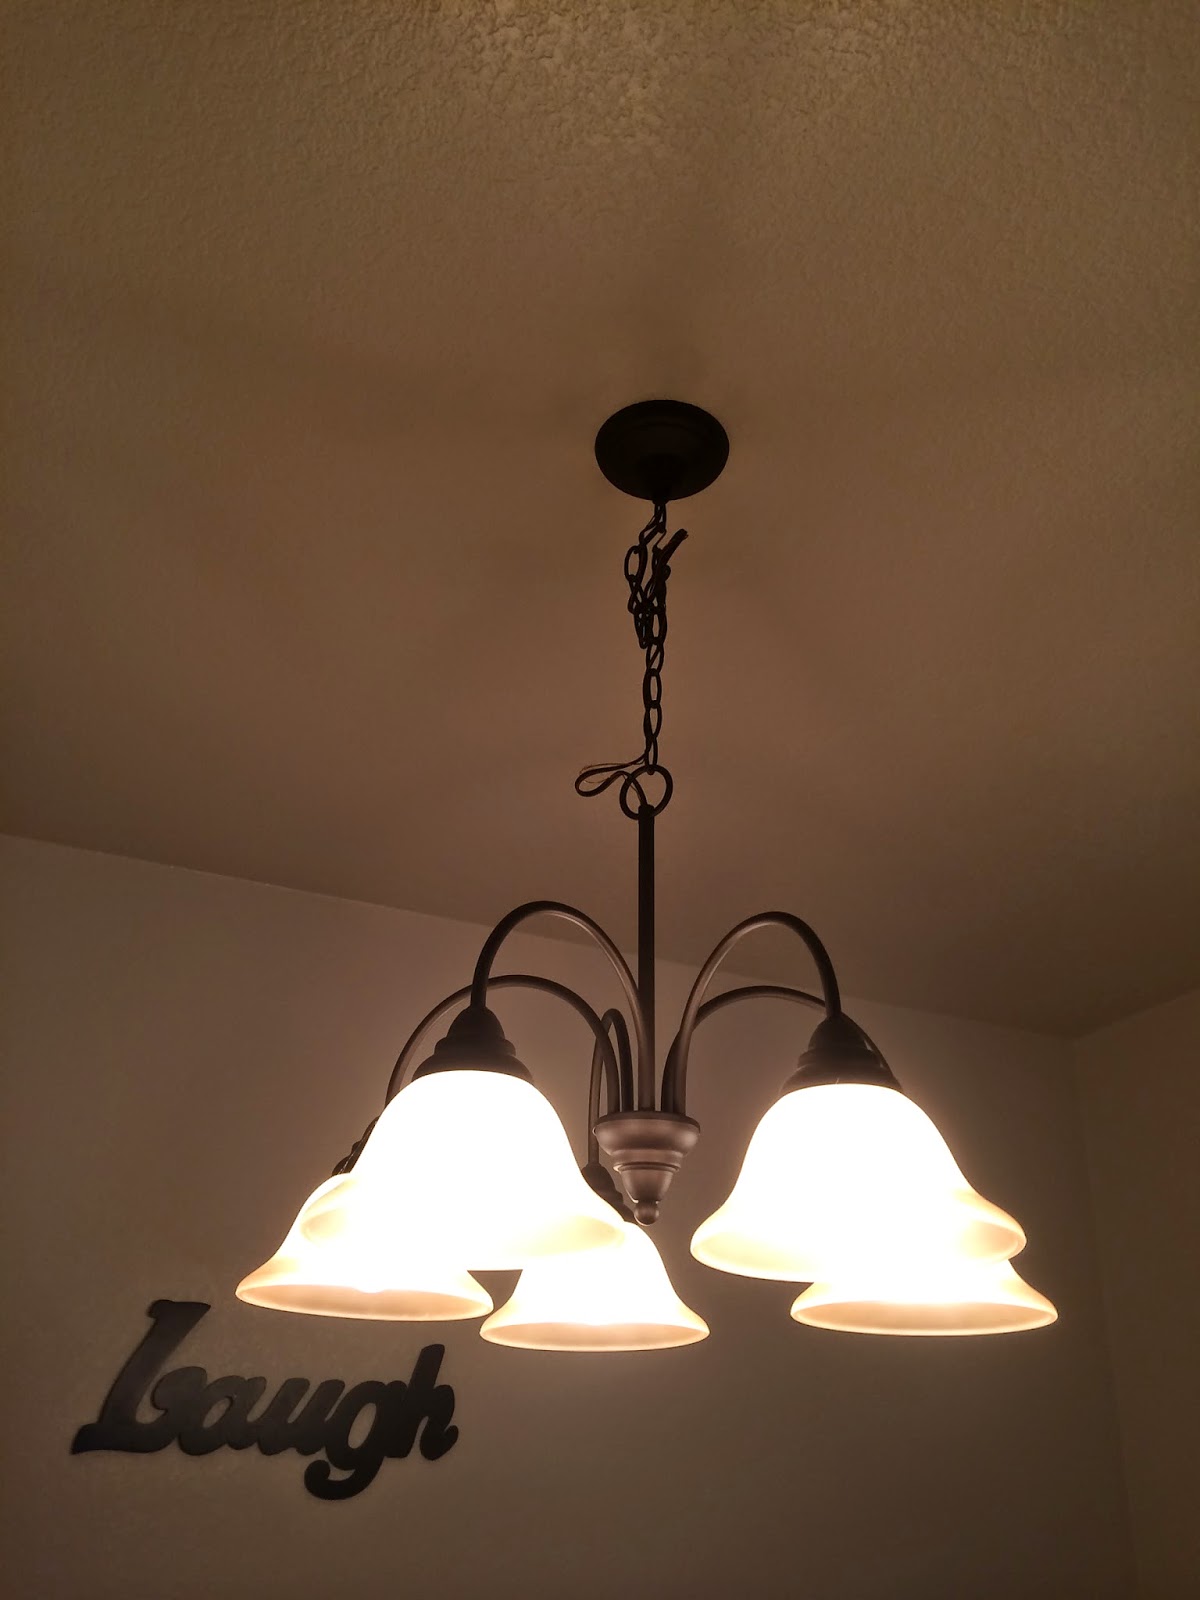
Thrifty Thursday: Light Fixture


We recently updated our dining room light fixture.
 

Before


After


What we needed
Globes
Old fashion Edison light bulbs
Ceiling Medallion- pre painted bronze
(All purchased from Lowes)
 
Total= $80
 
My husband unhooked all the wiring from the ceiling- then put the ceiling medallion up.
Then he rehooked the wires.
Then we changed out all the globes and bulbs.
 
This has has really updated our space so much. I love the vintage feel it has created.