{ Search The Blog }

Showing posts with label Upcycling. Show all posts

Thursday, October 6, 2016

My Round Top Treasures


A couple weeks ago, we took our semi-annual trip to Round Top Texas.
It is one of the largest antique fairs.
We spend the day looking for treasures and eating yummy food.


My Mother-in-law and I usually have a list of items we are in search for.
This trip I found three items on my list.


I scored this ladder for $20 bucks.
Right now, its sitting in our living room.
But it will soon hold blankets or towels in our bathroom.


This 1960s tricycle was only $15 and Brayden is obsessed!
We plan to paint and fix it up for him.


Last but not least, I found this tin truck for $20 dollars.
I will probably just clean it up and use it to store some of Brayden's toys.

We had a very successful trip this time around.
The count down until our next trip for April's show begins!


Thursday, September 22, 2016

DIY: A Chalk Paint Project

During the Parade of Homes this year, I ordered this vanity.


But it didn't have the look I was going for the powder bathroom.
So I bought some Waverly Inspirations- chalk paint


Base coat- Peacock #60705E (Chalk)
Top coat- Antique #60727E (Wax)
I also recommend buying a chalk paint brush and wax brush.

(There are many brands of chalk paint- choose whichever one you like best.)


I was definitely very nervous to tackle this project-- after all, my plan was to install it in one of our high dollar, custom homes. So the pressure was on, needless to say.


I did my research on my go to site-- Pinterest of course.
I found this post, which really helped me.


Step one- clean your furniture piece with a damp cloth & let dry.
Step two- apply a little amount of paint to brush and start applying to furniture.
(I actually kind of freaked out once the first coat was finished- I didn't like the color at all!
But I kept on going anyway..)

Step three- very lightly sand


Step four- apply little amount of wax to brush and start applying to furniture.
(After the wax coat was complete- I was in LOVE! Totally what I had pictured!)
Step five- Spray or brush on a sealer


Lastly- I changed the cabinet hardware.
Picked these up on sale at Hobby Lobby.

The updated look cost less than $30 bucks!


Viola! Such a fun pop of color!


Have fun with your next projects!


Thursday, February 26, 2015

Insiders Tip: Ways to Save on Your Kitchen Remodel


Alternative Countertop Material
 

There is more than just granite out there.
Think about wood or butcher block instead.
 
Open Shelving
 
 
You could save a few thousand dollars by using shelves, instead of having cabinets remade.
 
Keep Existing Cabinets
 

Save money by painting your cabinets verses refinishing them.
You can find my tips and how- to's on Pinterest.com to help with your project.
 
Wall Cut Out
 
 
Opt to cut out a portion of the wall, rather than removing the whole thing.
 
Do Your Project In Stages
 
 
Go step by step- do what you can afforded, rather than doing the entire project at once.
Here they have just painted the cabinets and installed hardware. Next they will do the countertops and the flooring.
But what a difference a few coats of paint can do!
 
Use a Furniture Piece for the Island
 
 
Repurpose a piece of furniture for the island- instead of spending money on a new cabinet.
*36" Height for the piece furniture


Images Via:
Pinterest.com


Thursday, October 23, 2014

Thrifty Thursday: Suitcase Side Table


Earlier this month, my mother-in-law, sister-in-law and I took a trip to Round Top.
If you have heard of this place/event before- you know how amazing it truly is.
I was in pure heaven.

I came back with lots of goodies.

Vinyl Records - 5 for $10
Vintage ruler - $12
Brass candlesticks - $13
Mercury Lamp & Bowls - $25
Vintage Suitcase - $20

I had big plans for the suitcase!

Here is what I turned it into!
 
 
I purchased a DIY 24" barstool from Walmart -  $12 bucks
A can of spray paint - $6
(I wanted the color to closely match the hardware on the suitcase)


(Diaper boxes come in very handy for all my spray painting projects)
 
Once the barstool was dry, I put it together (minus the round top portion) and used a couple of pieces of Velcro to adhere the suitcase to the top of each leg.

*You could screw the suitcase to the legs also. But just incase I want to use the suitcase for something else- I opted out.
 
Viola!
Here is our new bed side table.
 
And all for under $40 Dollars!
 
Happy Hunting!


Thursday, October 16, 2014

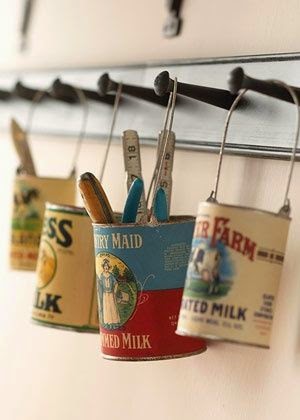
Trending Now: Tin Can Upcycle


Say Good Bye to the mason jar, and Hello to the tin can.
 
 
Start saving your cans now!
 
Here are a couple of great DIY's I have come across.


Christmas tea light holders
 
 
Tin Can Storage
 
Items needed:
Can, paint, lace, ribbon


Kitchen or office can storage
 
Items Needed:
Can, vintage labels printer- found on computer, add wire and hang on rack.
 
 
Just add fire!
 

Happy Crafting!


Images Via:
Pinterest.com


Thursday, August 21, 2014

Thrifty Thursday: Canvas Art


Before
 
 
This was my first attempt to make over a canvas I had laying around.
(I spray painted over the existing artwork and painted on our Wedding date.)
We lived with it for a while like this- But it just wasn't what I had envision for the space.
 
So I got materials and made it over once again.
 
Materials Needed:
 
 
Fabric
Staple Gun & Staples
Scissors
Wooden Numbers or letters
Spray Paint
Hot Glue and Glue Gun
Ribbon
 
After
 
 
This is much bolder and just how I pictured it in the beginning.
 
 
Total Cost:
Around $15 Dollars
For spray paint and the numbers
 
*I had the fabric and ribbon from previous projects.
 

Thursday, August 7, 2014

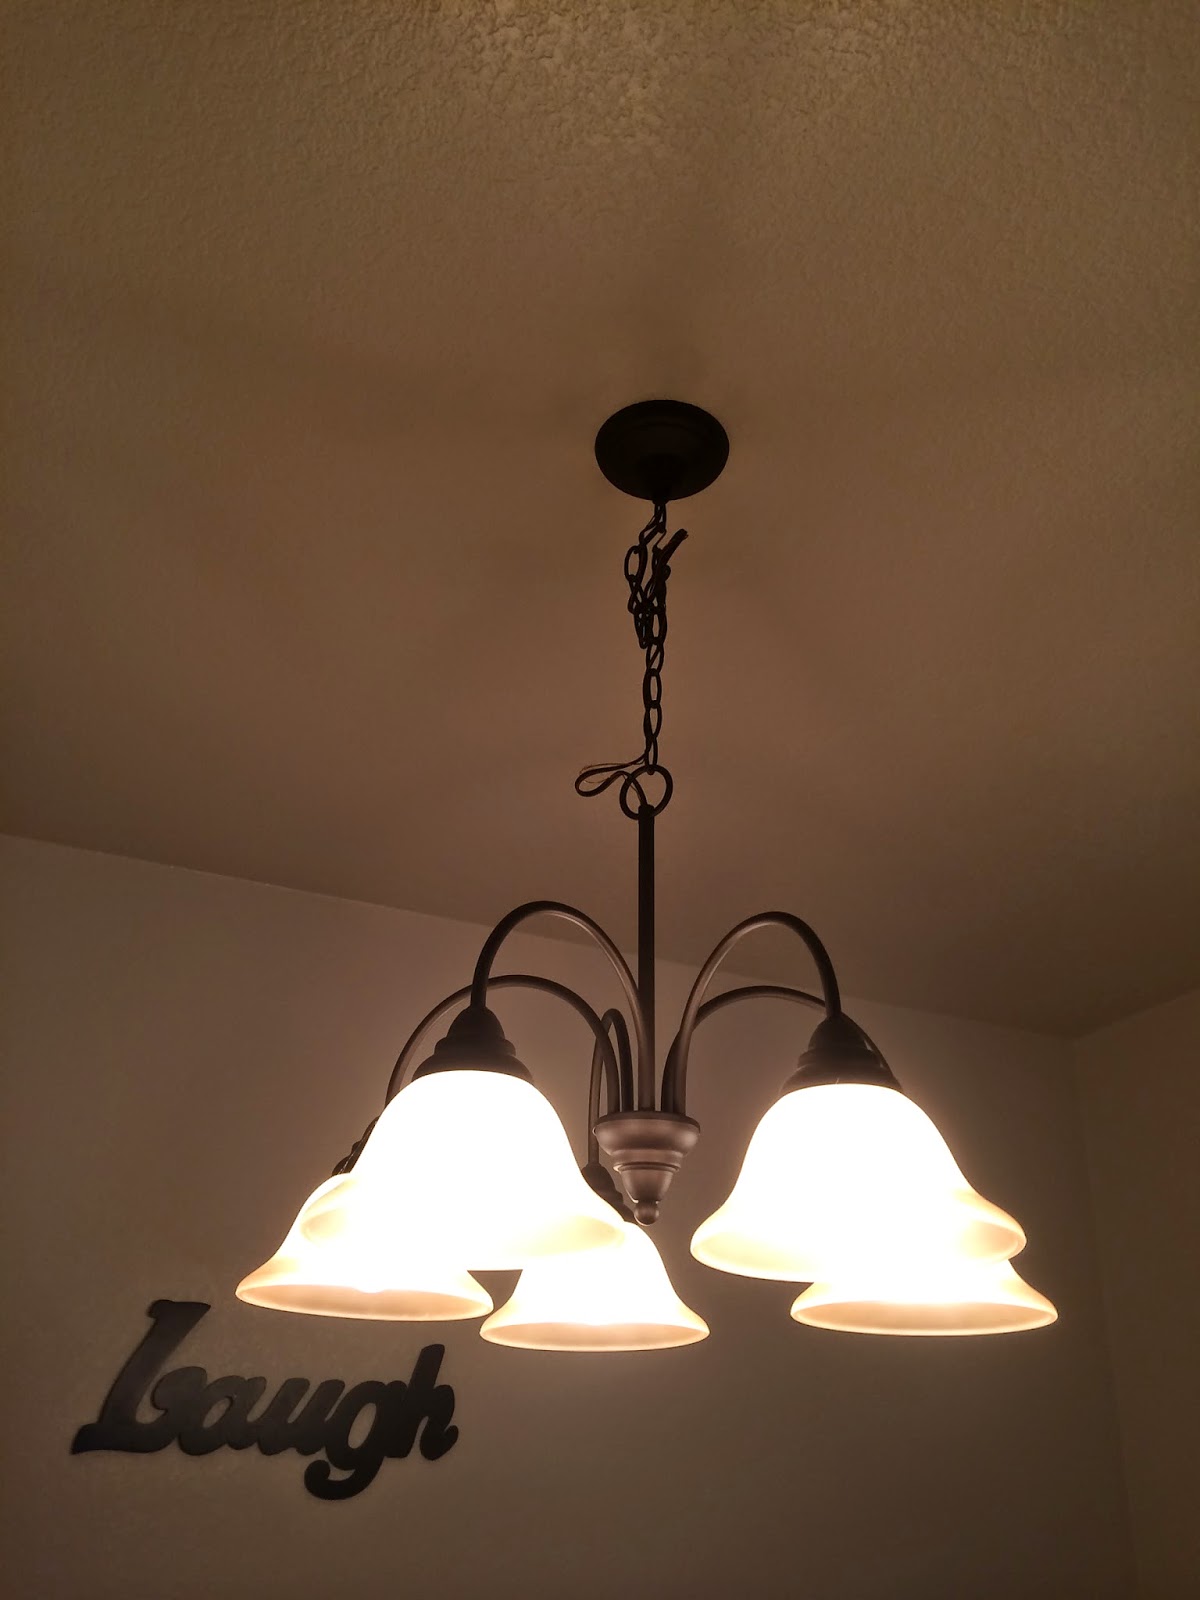
Thrifty Thursday: Light Fixture


We recently updated our dining room light fixture.
 

Before


After


What we needed
Globes
Old fashion Edison light bulbs
Ceiling Medallion- pre painted bronze
(All purchased from Lowes)
 
Total= $80
 
My husband unhooked all the wiring from the ceiling- then put the ceiling medallion up.
Then he rehooked the wires.
Then we changed out all the globes and bulbs.
 
This has has really updated our space so much. I love the vintage feel it has created.